
They performed really well for an abnormally filthy northeastern winter. No mud or snow ruining my car!

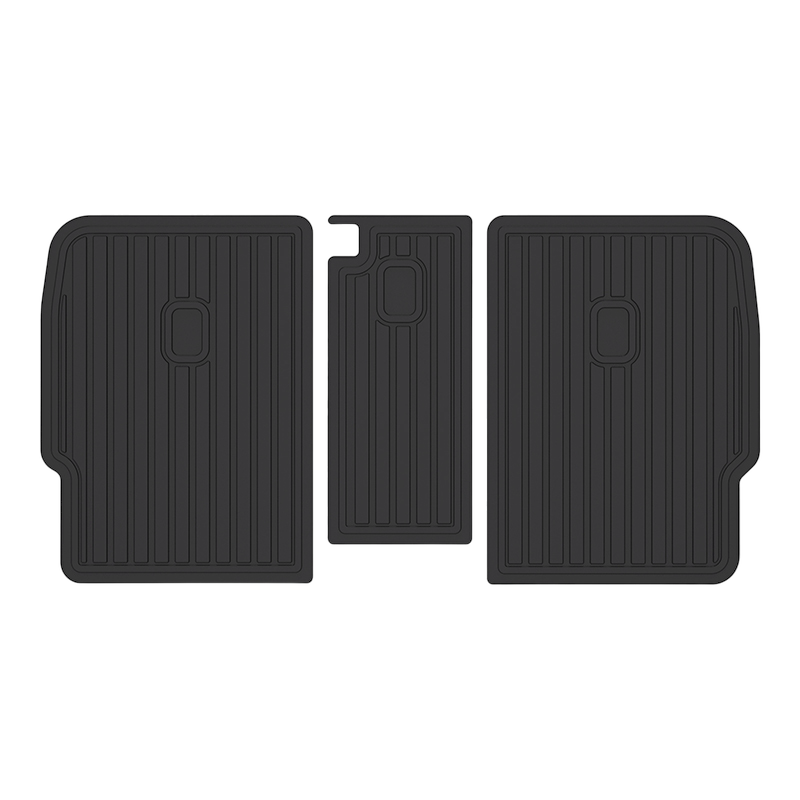
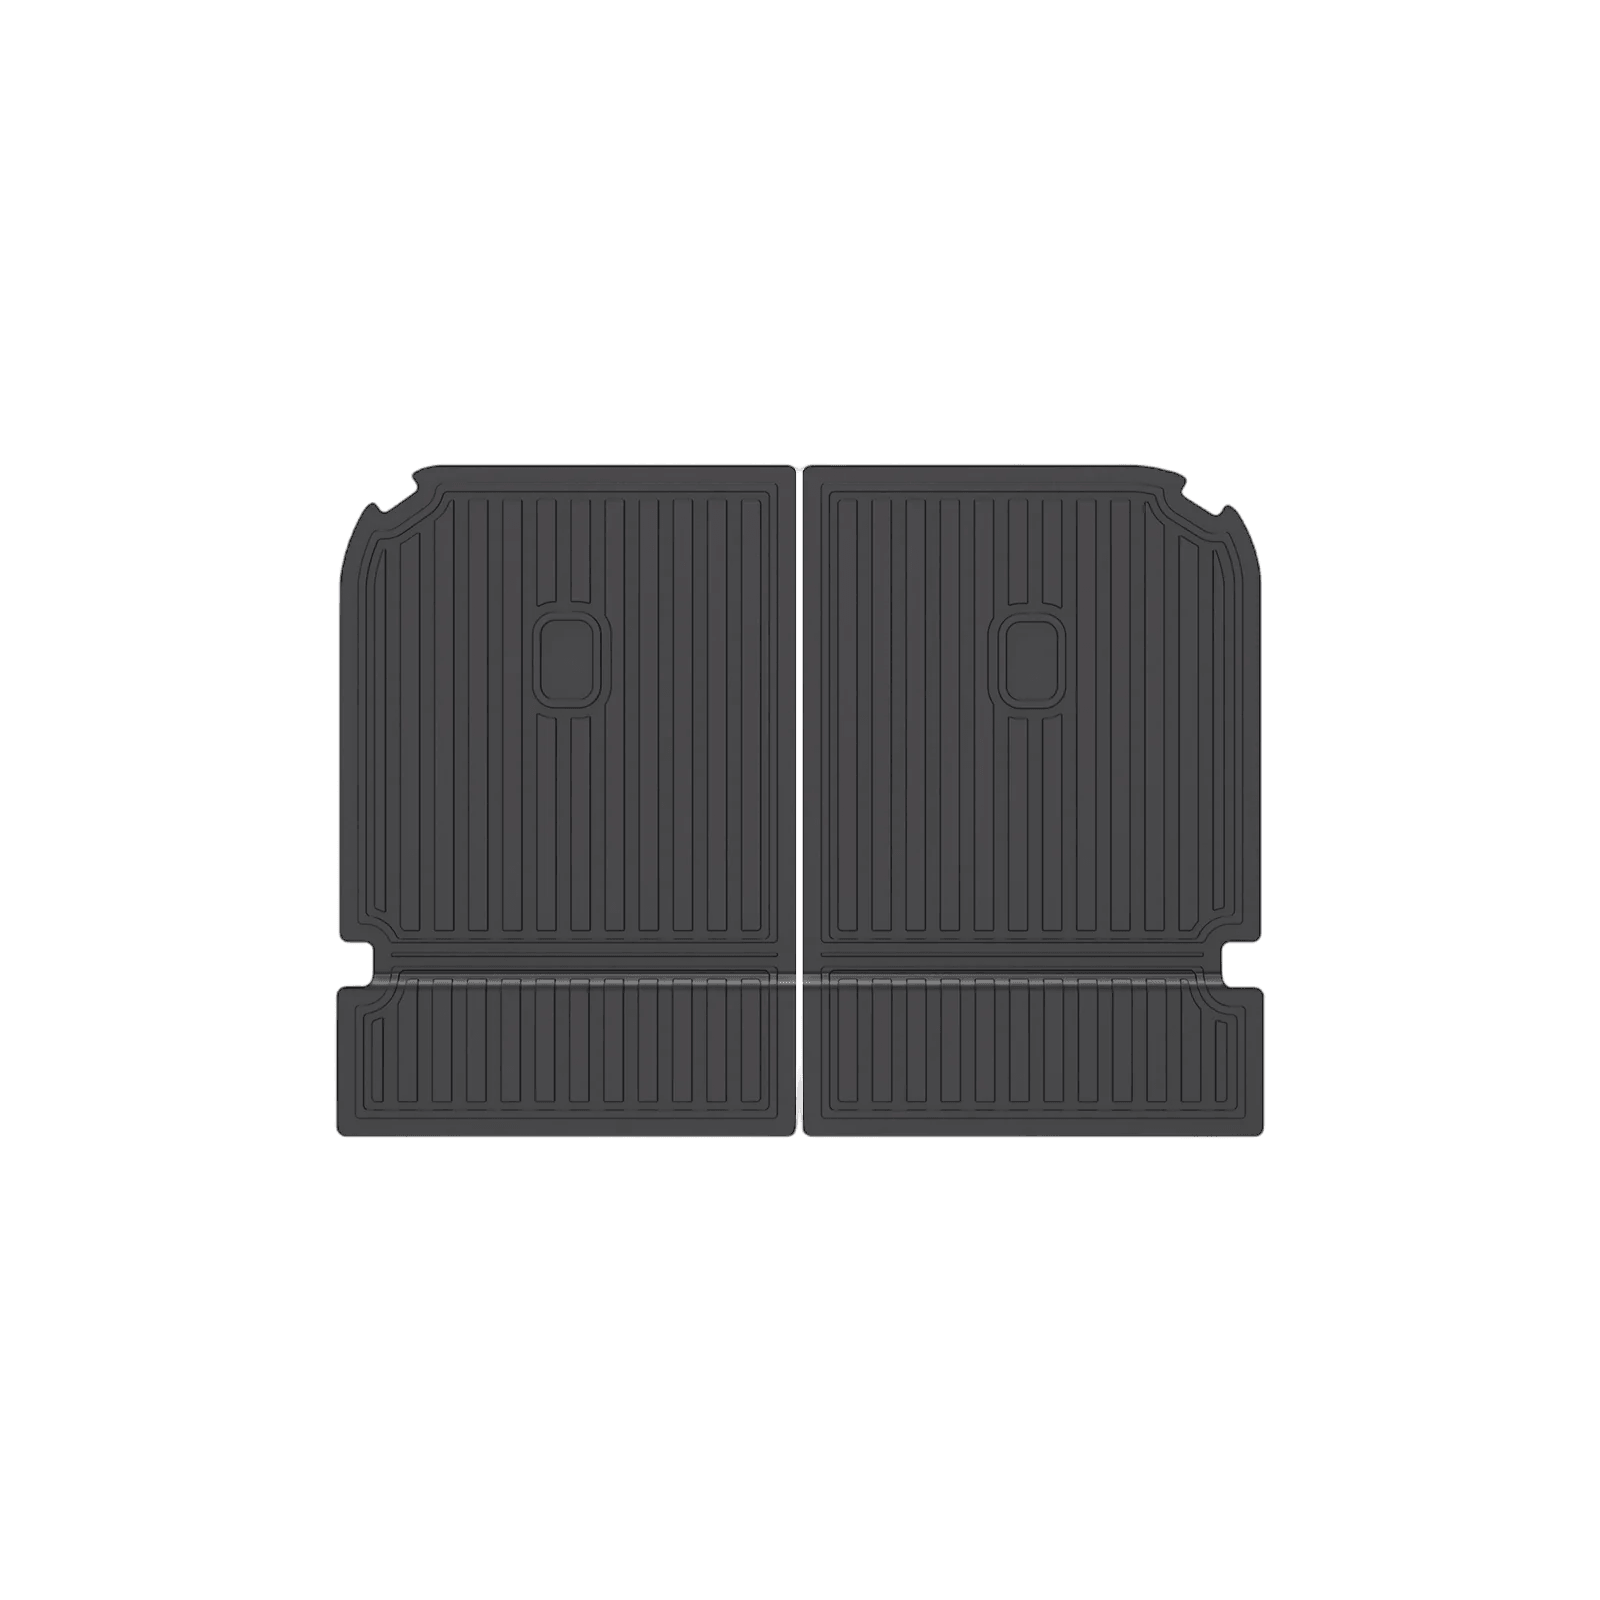


LinerX Seat Back Cover Mats for 2022-2027 Rivian R1S
-10%
Big Summer Sale
10% off at checkout.
Limited time offer.
Apply code SUMMER10
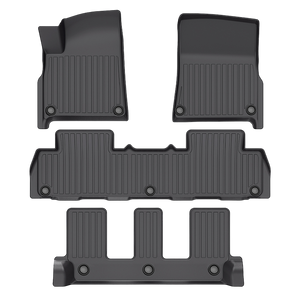
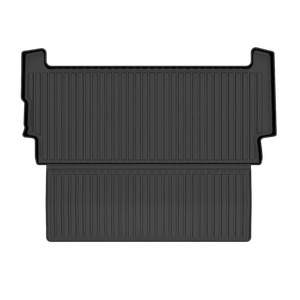
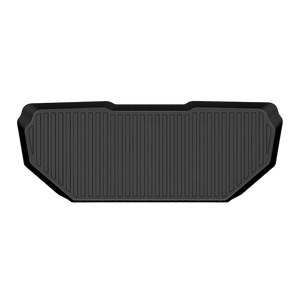
COMPLETE THE SET
+
×
Complete the set
Regular price
$159.99 USD
Regular price
Sale price
$159.99 USD
Unit price
per
+
Regular price
$109.99 USD
Regular price
Sale price
$109.99 USD
Unit price
per
+

Regular price
$159.99 USD
Regular price
Sale price
$159.99 USD
Unit price
per
+
Regular price
$89.99 USD
Regular price
Sale price
$89.99 USD
Unit price
per
Couldn't load pickup availability
Checkout today. Interest free.


THE LINERX EXPERIENCE
Real vehicles. Real protection.
See LinerX in everyday life. A closer look at the fit, finish, and protection from the people behind the wheel.
Loved by 50,000+ drivers
From the LinerX community
Swipe to explore
The best all-weather floor mats available today. They undercut many other brands on price but don’t undercut on quality.
Absolutely impressed with this brand in terms of quality, fit and finish. Shipping was lightning fast.
Description
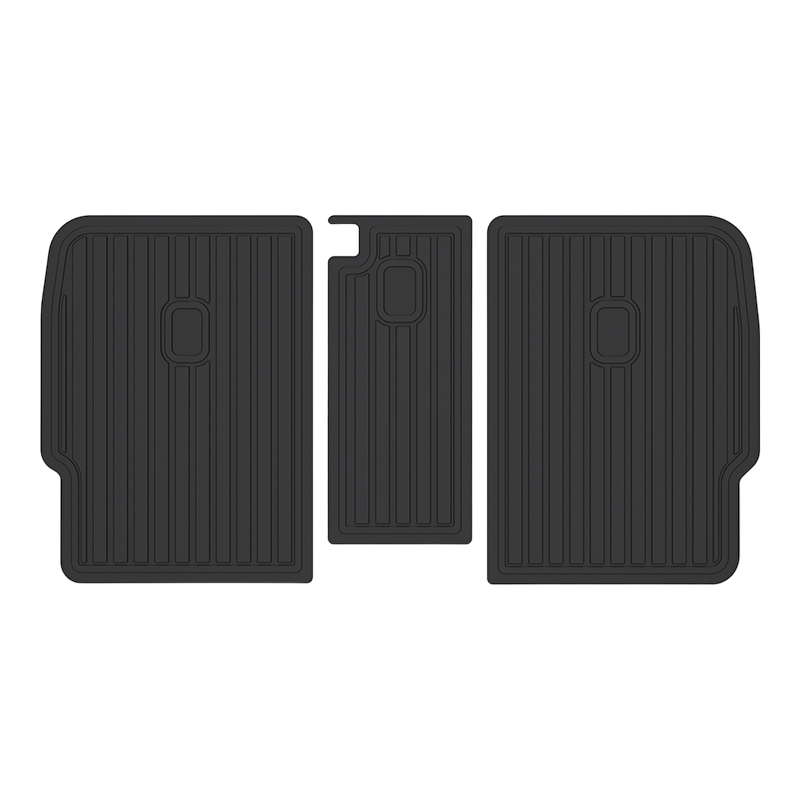
Seat Back Cover Mats for Rivian R1S
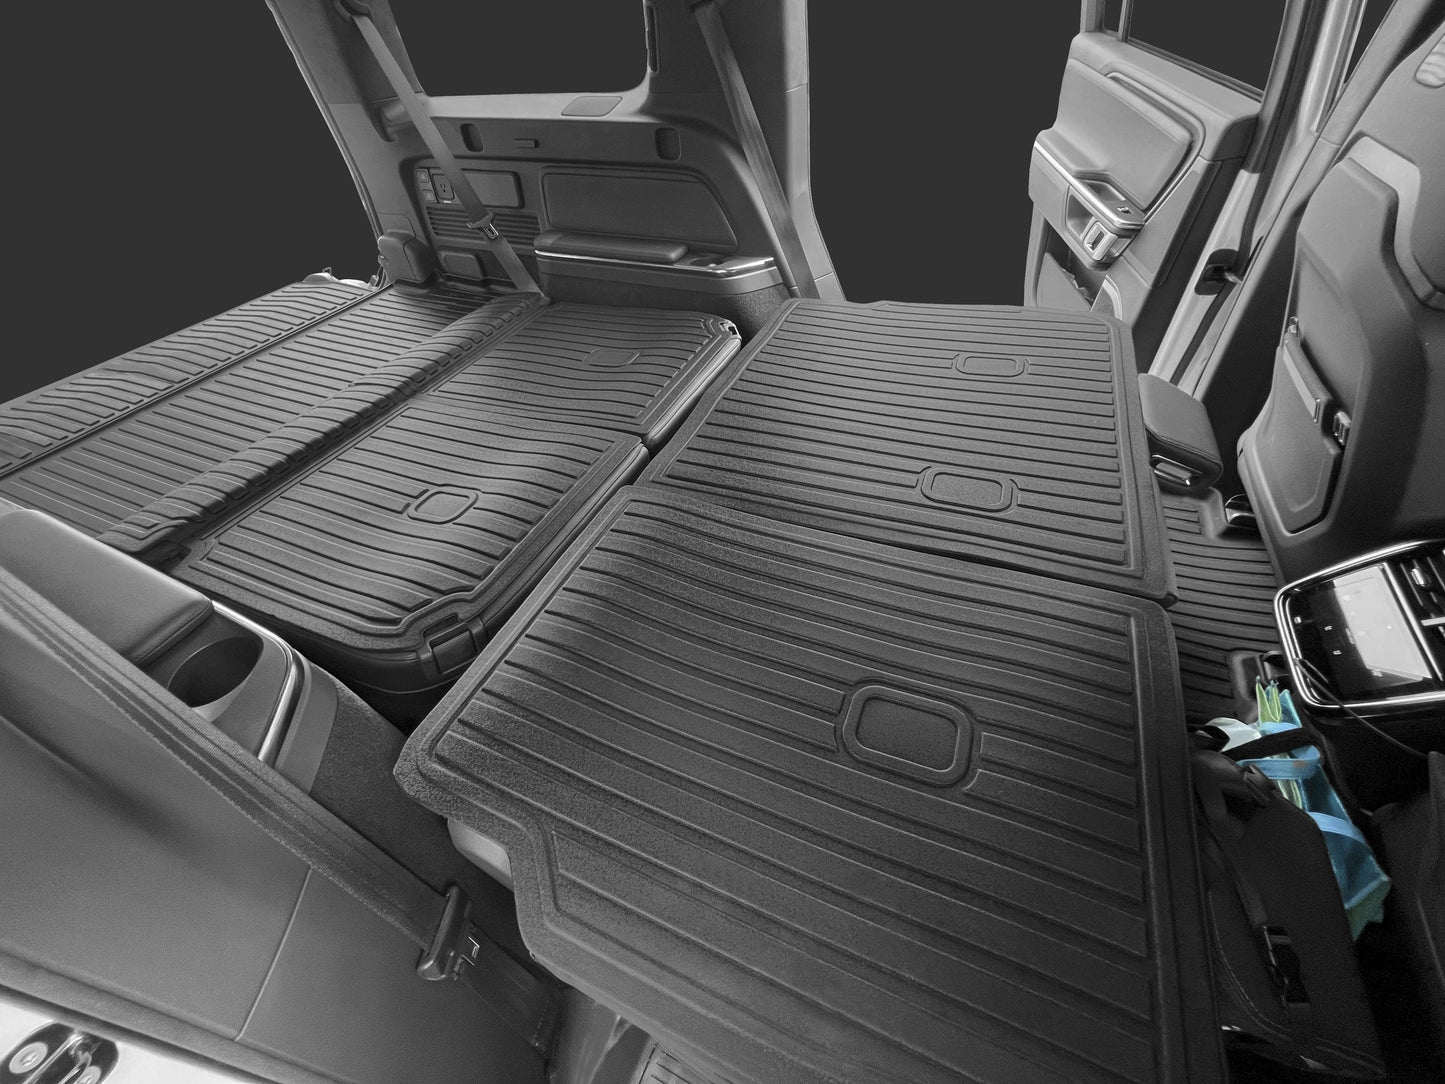
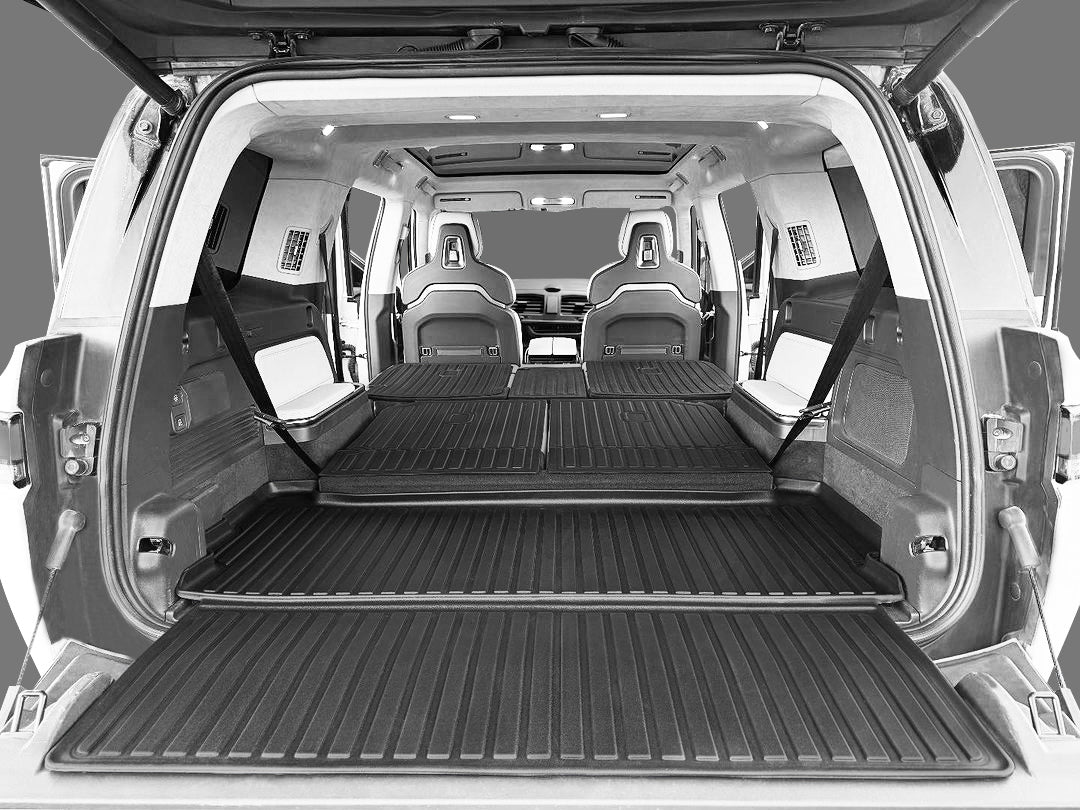
Precision-fit protection designed around the rear seat backs of your Rivian R1S, helping shield the original surfaces from dirt, mud, pet hair, luggage, gear and everyday cargo.
FITCustom Fit
Designed around the R1S rear seat backs.
MATERIALPremium TPE
Durable construction for everyday use.
PROTECTIONEveryday Defense
Helps protect against dirt, spills and gear.
CAREEasy Cleanup
Wipe, rinse, dry and reinstall.
Swipe for more highlights
THE LINERX DIFFERENCE
Protection with a purpose.
01PRECISION FIT
Shaped for
your R1S.
Designed around the rear seat backs of the Rivian R1S for clean, vehicle-specific coverage while allowing the seating and cargo area to continue functioning as intended.
- Vehicle-specific design
- Tailored seat-back coverage
- Designed for rear seat backs
02EXPANDED CARGO PROTECTION
Protect more when
the seats are folded.
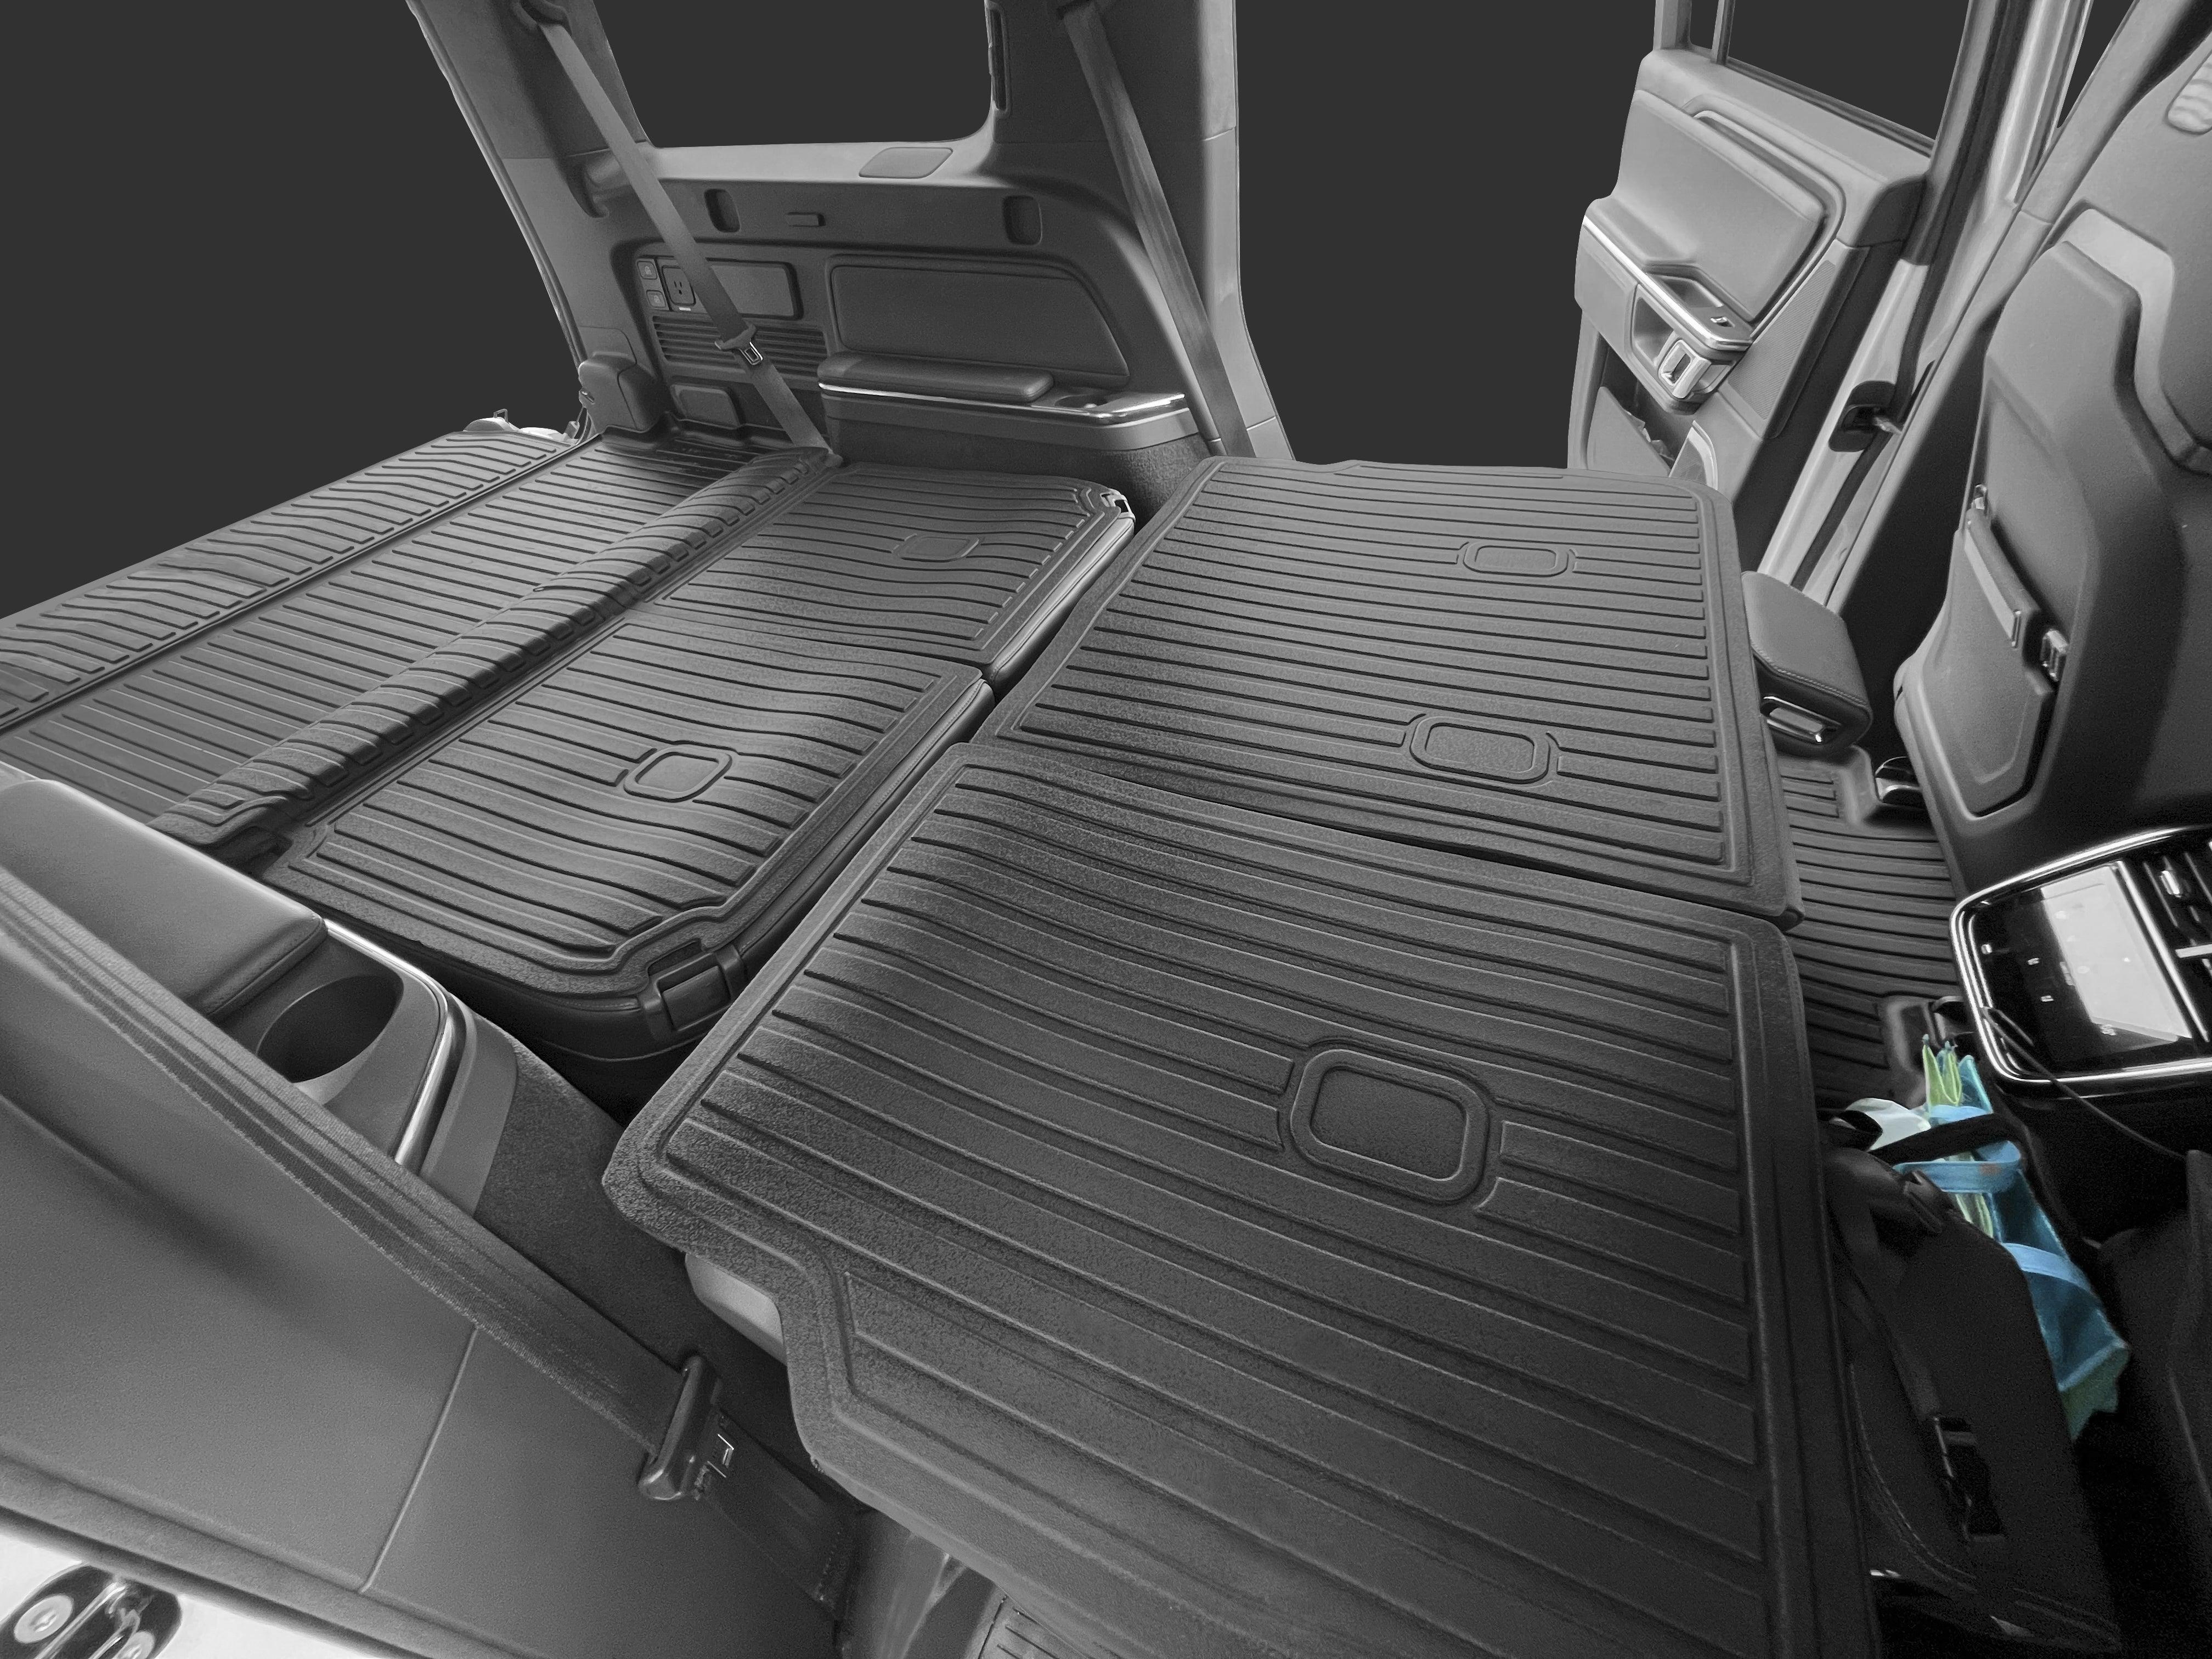
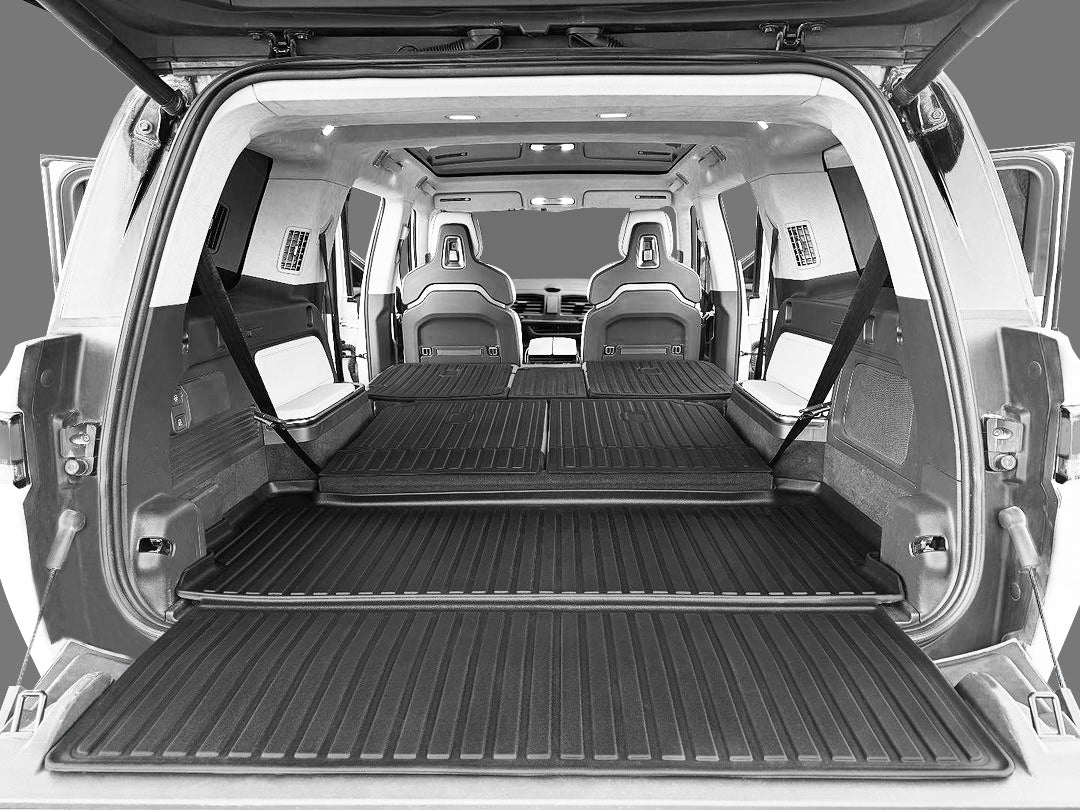
When the rear seats are folded down, the seat backs become part of the expanded cargo area. LinerX helps protect these surfaces from luggage, muddy gear, pet hair, groceries, spills and everyday cargo.
- Dirt & mud
- Pets & hair
- Luggage & gear
03PREMIUM TPE
Durable protection.
Refined finish.
Thermoplastic Elastomer (TPE) provides durable everyday protection with a clean, modern finish designed to complement the interior of your Rivian R1S.
- Durable TPE construction
- Clean, modern finish
- Built for daily use
Explore all 3 features
BUILT FOR REAL-WORLD USEProtection for
Protection for
everyday life.
From family trips and outdoor adventures to pets, luggage and everyday errands, LinerX helps keep your R1S seat backs better protected when you put the cargo area to work.
PetsHair, dirt & everyday mess
MudOutdoor gear & debris
LuggageBags, cases & travel gear
EverydayGroceries & daily cargo
Designed around the R1S cargo configuration.
These mats are designed to work with the cargo floor in both its lower position and flat cargo-bed position. For the best overall coverage, they are primarily intended for use with the third-row seats folded down.
INSTALLATION
Always position the mats first before installing the supplied attachment pieces. Follow the installation instructions included with your order for proper surface preparation and placement.
THE LINERX DIFFERENCE
See what protection adds.
Compare your vehicle’s interior before and after LinerX. See how vehicle-specific coverage adds protection while keeping the space clean and considered.


LinerX vs. the rest
See how we compare to and outperform leading brands and dealership OEM options
| A CLOSER LOOKWhat matters. |
 PROTECTION MADE TO FIT
|
To The Other BrandsCompare the details |
|---|---|---|
| Accurate Custom Fit | Yes | No |
| All-Weather Protection | Yes | No |
| No Flashy Logo | Yes | No |
| Zero Edge Curl & Odor | Yes | No |
| Better Price | Yes | No |
| 30-Day Guarantee | Yes | No |
| Free Same-Day Shipping | Yes | No |
✓ Yes× NoText provides additional detail.
Perfect Fit in 3 Steps
-
01 STEP

3D Scanning
We start with the bare vehicle floor and capture its unique dimensions in 3D, including hard-to-reach corners, raised sections, and factory mounting points.
-
02 STEP

Engineered to Fit
The 3D data is transformed into a vehicle-specific design. Multiple prototypes are evaluated and adjusted until the shape, coverage, and positioning meet our standards.
-
03 STEP

Built for Your Car
After the final fit is approved, the design moves into production—creating durable all-weather liners shaped specifically for your vehicle.


Swipe to explore the steps
PROTECTION MADE TO FIT
Shop With Confidence
-
FREE Same-Day Shipping
If you order by 4:00 PM EST (Monday-Friday) from anywhere in the world, your order will ship the same day, unless otherwise noted.
-
FREE Simple Returns
We accept returns within 30 days of delivery. Orders with Checkout+ can return any item for a refund, exchange, or store credit for free.
-
100% Fitment Guaranteed
100% guaranteed all products will fit your vehicle. We are constantly at work making sure our floor mats & accessories are compatible with the vehicle.
Swipe to explore
Have questions? We’ve got you covered!
Frequently Asked Questions
Find guidance on choosing your mats, installing your products, and getting help with an order.
INSTALLATION, MADE CLEAR
A better fit.
A confident start.
Choose your product below for step-by-step guidance. Follow the instructions included with your set and the fitment notes on its product page.
Before you beginConfirm your product and vehicle configuration. Lay out the pieces and supplied attachments, then start with clean, dry surfaces.
Floor matsA secure fit starts with a clear floor.
Prepare the footwell
Park on a level surface, turn the vehicle off, and remove the existing floor mats. Vacuum loose dirt and allow the floor to dry. Install one mat per position; never stack a LinerX mat over another mat.
Position each mat
Match each piece to its intended seating position. Lay it flat and align the edges with the footwell. Confirm the driver and passenger pieces are on the correct sides before attaching them.
Secure the retention points
If your set uses the vehicle’s factory retention posts, align the mat openings and engage each attachment according to the supplied instructions. Do not force a mismatched opening or modify the retention system.
Check before driving
With the vehicle safely parked and switched off, confirm the driver mat stays secure and does not interfere with full pedal travel. Check that no edge curls into the pedal area. Do not drive until any interference or loose fit is resolved.
Cargo linersTailored coverage for your loading space.
Clear and prepare
Remove loose cargo and any existing removable cargo mat. Clean and dry the loading floor. Confirm that the floor panel and seats are in the configuration specified on your product page.
Align the liner
Place the liner in its intended direction and align the molded edges with the cargo area. Work from the center outward so the liner settles into the floor contours without bunching.
Check moving panels
Gently check access to the storage panels and any seat or tailgate movement relevant to your liner. Where the liner covers a storage handle, lift the liner before opening the floor panel. Do not force a panel against it.
Confirm your configuration
Some products require a specific seat position, cargo-floor height, or tie-down arrangement. Follow your listing’s fitment notes. If an edge remains lifted, check orientation and configuration before loading cargo.
Front cargo linersA clean fit inside your front storage area.
Prepare the compartment
Open the front trunk using your vehicle’s instructions. Remove loose items and any existing removable mat, then clean and dry the compartment.
Place and align
Lower the liner into the well and align its contours with the base. Make sure all corners are seated and the perimeter is resting naturally against the compartment.
Keep access clear
Check that the liner does not cover a latch, emergency release, light, or other required access point. Follow any vehicle-specific instructions supplied with the liner.
Check closure
Remove packaging and tools, then gently check that the front trunk closes normally. Do not force the lid if the liner or an edge interferes. Recheck the fit before adding your belongings.
Seat back matsUse the attachment method supplied with your set.
Position before attaching
Park safely and position the seats according to your vehicle’s instructions. Clean and dry the seat backs, then match each mat to the correct panel. Check alignment around hinges, latches, straps, and seat-release handles.
Direct hook attachment
If the factory carpet grips the mat’s hook fasteners, align the mat and press each attachment area firmly into the carpet. If the hooks do not grip, use the included loop strips where required instead of relying on a loose attachment.
Adhesive loop strips
When supplied, match the loop strips to the hook attachment points on the mat. Peel the backing, press the strips firmly onto the corresponding seat-back areas, and follow any supplied adhesive bonding instructions. Press the mat’s hooks firmly onto the loop strips.
Retention straps and movement
If supplied, secure the retention strap around the headrest posts or designated area as instructed, keeping it clear of seat controls and moving parts. Slowly check folding and raising the seat. Stop if a mat catches, pulls away, or obstructs a hinge; reposition it or contact us before use.
Something doesn’t line up? Send us a photo with your order number and vehicle details before trimming or modifying the product.
Can they be quickly removed and reinstalled?
Yes, LinerX mats are designed to secure directly into your vehicle’s factory retention points. You can easily take them out and put them back in within seconds, no tools needed.
Will these fit my specific vehicle?
Our team uses advanced 3D scanning technology to create mats that are precisely tailored to your vehicle’s exact make, model, and trim.
Is any trimming or modification required?
No, LinerX is designed to fit perfectly right out of the box. Simply place them in your vehicle and enjoy a clean, custom fit with no cutting or tools required.
What’s the best way to clean them?
Simply wipe with a damp cloth or rinse with water, it’s that easy. No scrubbing, no special cleaners, and no time-consuming deep cleaning required. We’ll also be launching cleaners specifically designed for all weather mats soon, so stay tuned for updates!
Can they handle snow and road salt in winter?
Yes, LinerX is designed to handle tough winter conditions. The raised walls help trap slush and road salt, while the durable surface keeps your interior looking clean and like new.
Customer Reviews
- Choosing a selection results in a full page refresh.